

***2014 - Check out my hair update blog too!
Ever since high school I've had some type of variation of pink hair but I had never gone fully pink.
Ever since high school I've had some type of variation of pink hair but I had never gone fully pink.
Being 22 I was thinking... what am I waiting for?!
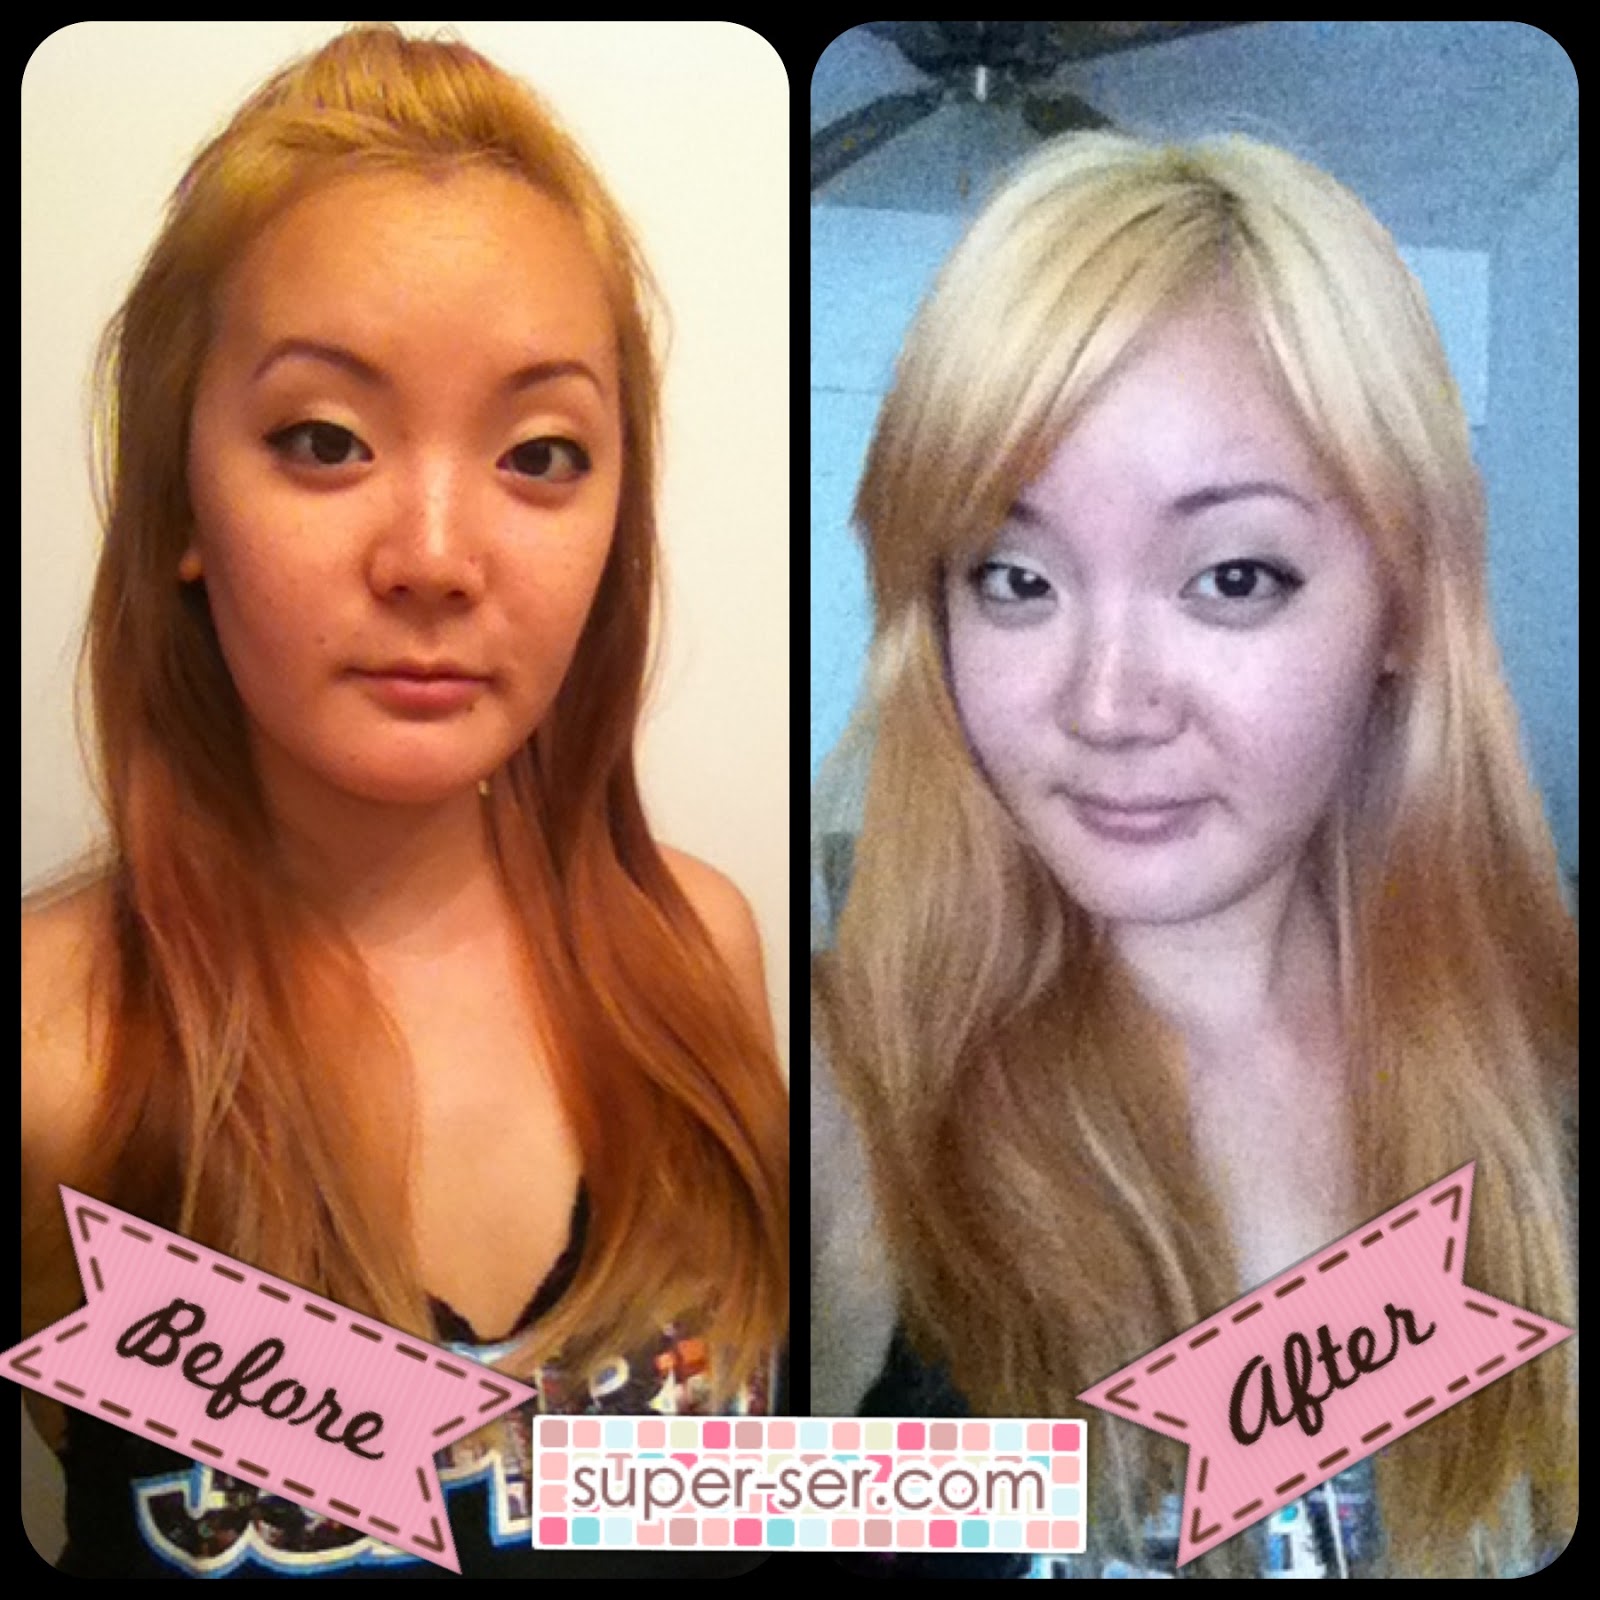
Going pink would require me to go blonde first, which is the hardest part.
I had gone blonde twice before, both times were very damaging and I hated the results.
Experience 1: I went to a pretty well known salon and sat for 5 hours with foils covering my head and dished out $300 for my hair to look bright fucking orange. Yeah like Hayley Williams, which isn't a bad thing but I wasn't going for that look and definitely not for $300 AND my hair was fried. After that I swore only I would color and cut my hair.
Experience 2: I say this was maybe a year later. I had used a lot of box products (big no-no) I got to a nice Barbie blonde (not platinum) but pale yellow. My hair was in a lot better condition. But I kept the blonde for maybe 4 months max and went back to brunette.
So this time around I did a lot of researching and with the background knowledge of guinea pigging around it was a go.
Below is a picture of what my hair was like for at least a year. (I think)
Pretty much my natural hair color with the ends bleached and a pink/blurple ombre effect.


Prior to my mostly natural hair color, I had vibrant red hair color for I'd say 6 months to a year?
I'm having a really bad perception of time right now.
Anywho... bright red so the "natural brunette" in the above pictures are the most part dyed over the old red with variations of violet and blue black that had faded/washed out to my normal hair color.

All of that being said I knew this process was going to be long. A month to be kind of exact.
I also didn't want to go all gung-ho and fry my hair. So these are the steps I took to get my hair bonde.
I am not a professional. I am not even saying I know what I'm doing.
I'm just sharing my experience to help readers and also sharing my knowledge through trial and error.
☠☠☠☠☠☠☠

Week 1
I had trimmed almost all of the pink purple hair from my ends leaving a little less than an inch of the color. I did this because I knew bleaching over this would just cause way too much breakage.
Products I used:
Loreal Quick Blue 1lb
20 & 30 Vol creme developers from Age Beautiful
2 tint bowls & brushes
**Wella Color Charm T18 lightest ash blonde toner
**Wella Color Charm cooling violet additive
**(I ended up not using this the first bleaching because my hair was dark and I didn't want to waste product)

I filled one bowl with a 1:1 (ish) ratio of powder and 30 vol developer. I just mix until I get a gloop runny cake batter consistency. I filled one whole tint bowl with the 30 vol mixture and half a bowl of the 20 vol mixture. I used all of it to cover my length of hair so take into consideration when purchasing your products. (It's better to have more products than to run out and have to go to the store with weird hair)
Tips:
For my first bleaching I used the 30 vol on the length of my hair but kept about a 2 inch gap away from my roots. After I had applied all the bleach to the length of my hair I let that sit for about 20 - 30 minutes (it all depends on how fast your hair develops). I then went in with the 20 vol mixture just to my roots & that 2 inch space then let that sit for 15 minutes and washed everything out.

I rinsed everything out and conditioned with a keratin conditioner (wait till the end to see my aftercare products I use)
☠☠☠☠☠☠☠
Week 2

I did the same process as week 1 but a day afterward I toned my hair.

Products I used:
Wella Color Charm T18 lightest ash blonde toner
Wella Color Charm cooling violet additive
20 Vol creme developer from Age Beautiful
I mixed the toner with a 1:2 ratio as directed in a bottle. I also added about 4 heaping capfuls of the cooling violet. I swear by this cooling violet additive because I have used T18 in the past and I barely noticed anything.
You might noticed after my second bleaching it appears I have some slight "hot roots" but after toning my hair it isn't as noticeable. The only junk parts is that toner doesn't last forever. So creeping toward the next week the orange was coming back. But the toner is a great hold of in between lightenings.
I also say with the 20 vol developer it lifts maybe a half level.

☠☠☠☠☠☠☠
Week 3

Products I used:
Age Beautiful Creme Lightener
20 & 30 Vol creme developers from Age Beautiful
I hate this product and I wish I hadn't used it. I read reviews online saying people swore by this product and it claims to be capable of lifting up to 8 levels with minimal damage.
Sally's has a BOGO free deal so I was like... why not?!
So I followed the directions which I believe was 1:2 ratio.
I did a tube and a half for the 30 vol and the leftover half for the 20 vol.
I went about my same method as the previous two weeks. What I noticed was this product is dry and hard to spread and gritty. Not only that it's super oily to the point it's nasty.
I rinsed my hair out and it felt like I hadn't showered in weeks.
Because the product was so hard to apply evenly compared to the bleach I ended up with really patchy yellow and orange everywhere! I really feel if I had just stuck with my handy dandy bleach powder my hair would have been a lot more evenly colored and my hair wouldn't have been so dry and nasty feeling. But oh well can't turn back time.
Then 2 days after, I toned it with the same method of week 2.
The before picture was really orange because I had taken it after I rinsed my hair out (because it felt so gross) the day before the toning.


I liked the results but I wanted it a weeeeeee bit lighter.
**selfish me**
☠☠☠☠☠☠☠
Week 4
I did some deep conditioning and let my hair rest. See the very end for my products I used.
☠☠☠☠☠☠☠
Week 5

Products I used:
30 Vol creme developer from Age Beautiful
Wella Color Charm 12AA/1120 Nordic Blonde
Why I decided to do this I'm not sure. Maybe I wanted to try a "high-lift" hair color.
Ladies... with much speculation high-lift is basically normal hair color you just use double the amount of developer as you normally would. Not impressed. I got maybe a shade lighter.
Not only that but Nordic Blonde is a Violet based shade when I should have went for Blue based to fight off more of the orange.
The picture below has this weird pink tint because all the picture previous to was with an iphone and this was with my new Galaxy s4. (the camera sucks and so does the app I used)


This is a better picture. Nordic Blonde left me with a champagne beige blonde.
☠☠☠☠☠☠☠
So afterward what did I do to fix the brassy tones? Use purple shampoo!!

☠☠☠☠☠☠☠
Below is the aftercare products I've used in detail.

1. Tresemme Keratin Smooth conditioner
- This will be part of my next blog actually. Huge bottle of WHITE conditioner for a low price = great color diluter.
2. Ion Cool Blonde Shampoo
- I got this free with some purchase at Sally's. Smells nice and takes some minor brass away.
3. Bed Head Recovery Conditioner
-Thank god for Ross! Half the price. This conditioner has taken the place of my Bed Head Dumb Blonde conditioner unfortunately. I loved Dumb Blonde... it was my go to conditioner when I did some severe things to my hair but the company decided to change the formula to some crap plastic wax for your hair.
I'd like to mention though this conditioner is a "Level 2" damage this is probably all you need. The "Level 3" called Resurrection has terrible reviews. It's also a really light conditioner so it does not weigh my hair down.
4. One 'n Only Brazilian Tech Deep Conditioning Treatment
-Smells nice and coconutty. I used this in the mean time while I was searching for my Bed Head conditioner. It doesn't work as well but there is keratin to help reconstruct your hair.
5. One 'n Only Brazilian Tech Lusterizer
-I don't care for this but I used it for the first few days. It smells nice but clumps in your hair if you don't spread it well enough.

6. Fantasia IC Hair Polisher
-You use so little of the product and it goes a long way! To me it smells like a light bubblegum fragrance. I'm sure it's just supposed to smell like aloe but whatever. It works well! Just don't put too much or you'll feel oily.
7. CHI Keratin Mist
-I had spritzed this at the ends of my hair for the first week or two. Then I dropped the bottle and it broke. :[ So I basically use only the Fantasia hair polisher.
☠☠☠☠☠☠☠
Woooh! That was a lot of typing. I probably made a lot of typos but now I'm gonna take a break and eat some lunch.

Thanks for reading!
Follow my blog :)
xoxo
I'm trying to do the same thing, dark brown to blonde, Thanks for the tips! I knew the sallys lady was wrong when I tried to get the cooling violet additive, she said honey you don't need that, just keep bleaching! No Thanks !
ReplyDeleteThat cooling violet is awesome! I remember a few years ago I tried T18 by itself and I thought the results were really minimal and my hair was left still really brassy. Couple capfuls of that in my toner and I love the results! Good luck with your hair! :]
DeleteHave you tried kaleidocolors?? It never damages my hair or leaves a brassy tone. Only 'bleh' about it is that you have to apply heat. BUT- the silver lining in that is that your hair is bleached within ten minutes AND has a self toner in it. People used to stop me all the time and ask how my hair was so healthy and shiny and bouncy (clearly knowing my platinum blonde wasn't natural lol). I swear by the stuff. I usually use the purple one (it smells like grapes!!) but sometimes I use the blue (smells amazing also!). I am very fair skinned (some say I'm 2 shades whiter than chalk hah!), and I can massage this stuff into my scalp, even though they say not to, and I never have sensitivity or break out in a rash or hives. And this is coming from a girl who is sensitive and allergic to a ton of products. For a big tub of it like you showed above, with a Sally's card it runs around $12-$15 and most weeks they have a special where you get a huge bottle of the matching developer absolutely FREE. The entire ensemble would last me well over a year. (I had the "shelf" look way back then- with the platinum up top and blue black or red/red underneath). Now I just do highlights here and there and I've had the whole kit-n-kaboodle for 2 yrs now with a ton still left (and my hair is halfway down my back; way past my bra strap).
ReplyDeleteI am loving your blogs doll! Always a good read! Thank you! :)
So what do you when roots come out? Use the Nordic blonde? I have naturally black hair like yours and roots are creeping out! Help! I don't want to bleach it!
ReplyDeleteHey Jossie!
DeleteWhen I did touch up my roots (usually every 3 weeks, if I could push it out 4) I'd use a 30 vol developer w/ the powder bleach and leave it on for a short period until it's a "banana yellow" then tone. Because the heat from your scalp processes the bleach faster you don't need to leave it on as long. I'd then use a 10 vol developer for the toner. **I NOW don't use toners that require developer, I mix my own vegetable dye (like manic panic) & conditioner. This way it tones my hair while conditioning and not actually processing my hair. This turned out to be a lot more cost effective also see this post: http://www.super-ser.com/2014/10/2014-hair-update.html
Unfortunately I've not found anything aside from bleach that has lightened my black hair enough to be considered blonde (usually just a dark strawberry blonde). I find a lot of hi-lift blonde hair color is a lot more damaging because they usually require double the amount of developer.
Another thing you could do is not bleach all the way up to your scalp but actually feather the bleach on the roots. This way there won't be a stark line when your roots grow out but it'll look more blended from blonde to black, it makes dark roots with blonde a little more maintainable.
Sorry it's such a long answer but I hope this helps! :)
Thank you so much for your answer, I will indeed keep it for future reference, for my root touch up.
ReplyDelete